Before diving into trade areas, it's good to understand polygon shape features as whole.
Trade Areas in SiteZeus allow you to define boundaries around your sites so its easy to classify geographic areas for the purposes of trade area management.
- Sets view
- Sites view
- Standard Sets
- Custom Drive Times
- Polygon Shape Tools
- Import / Export trade areas
Using Trade Areas
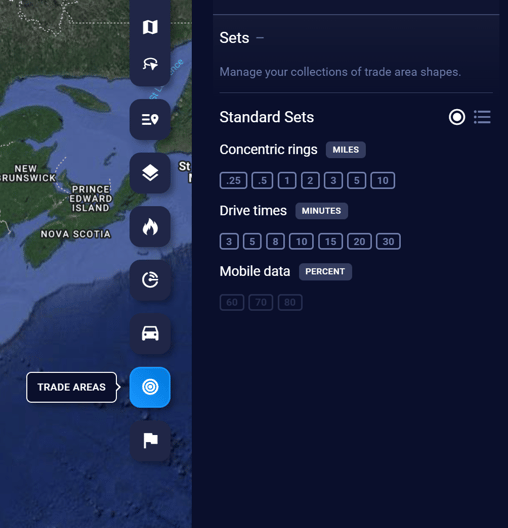
To access Trade Areas, press the Trade Areas button on the map toolbar. Once launched, you'll see two sections on the panel. Sets and Sites.
If you have at least one site selected when you turn on Trade areas feature, you will by default be looking at the Sites view.

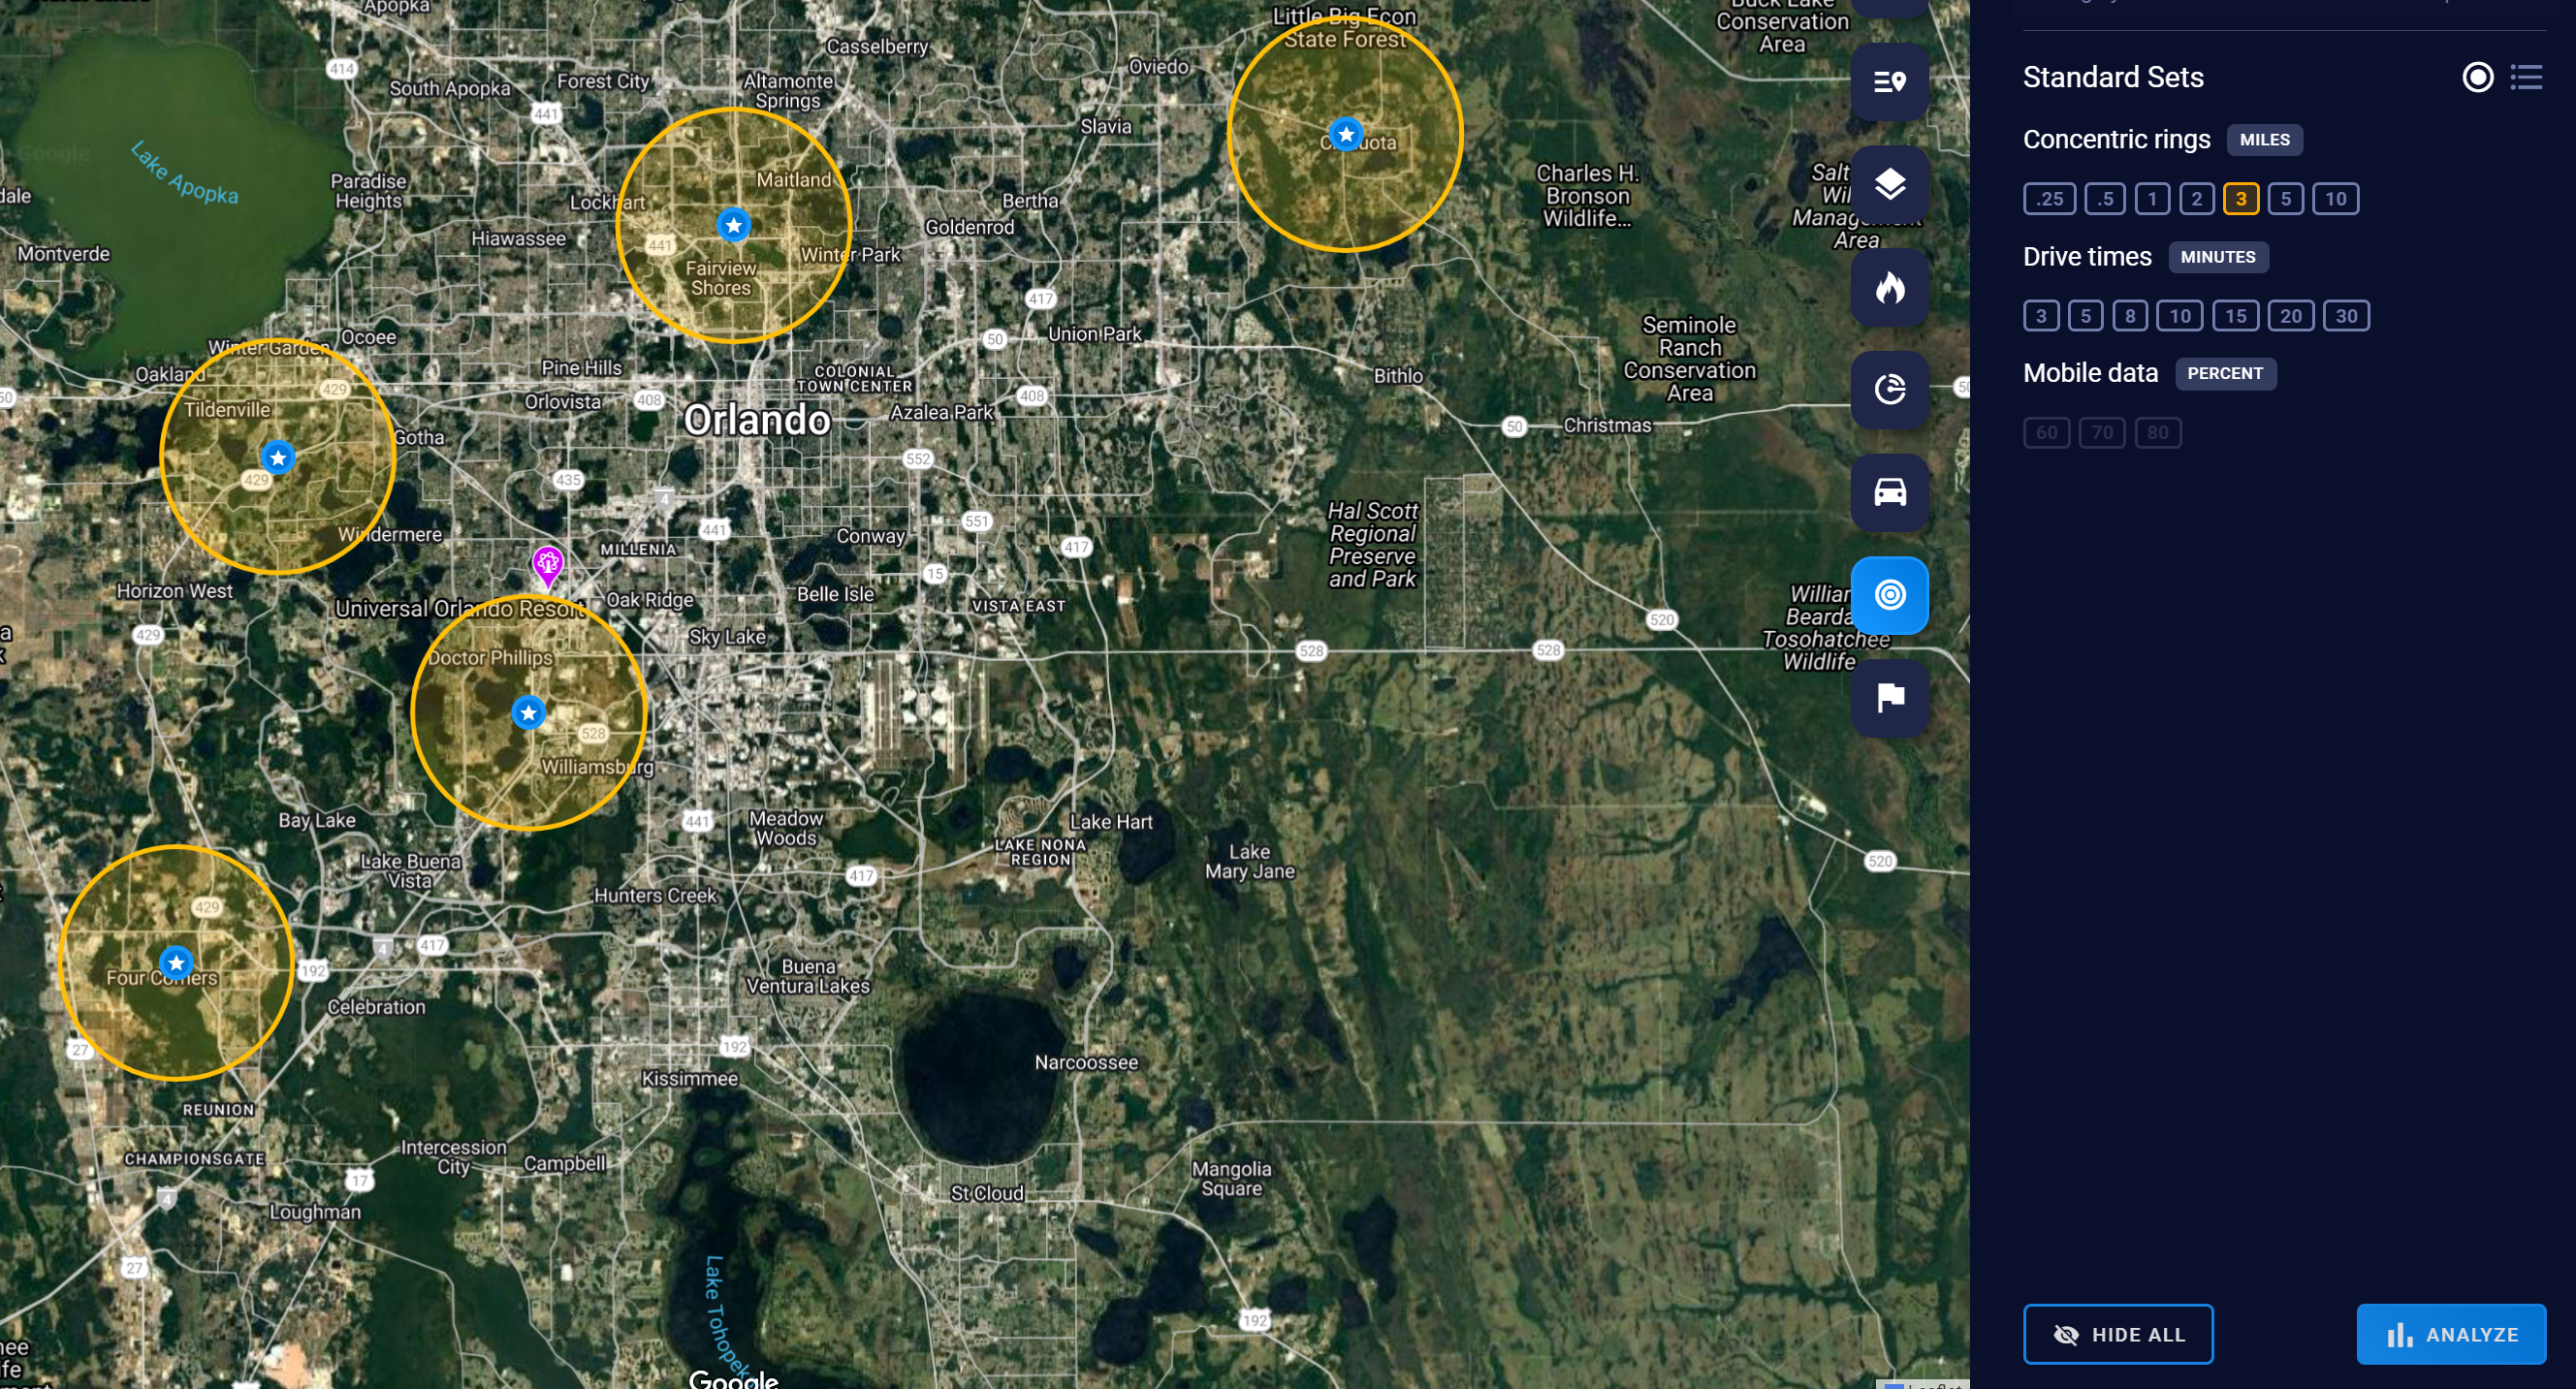
Sets view
From Sets view, you can apply standard shapes "by set". If you apply the set "5 mile ring", a 5 mile ring will appear on every site (existing or proposed) within the bounds of your map.
You may need to zoom in to see the shapes.
Sites view
From Sites view, you can apply standard shapes "by site". If you apply the 5 mile ring, it will appear on any sites you have selected.
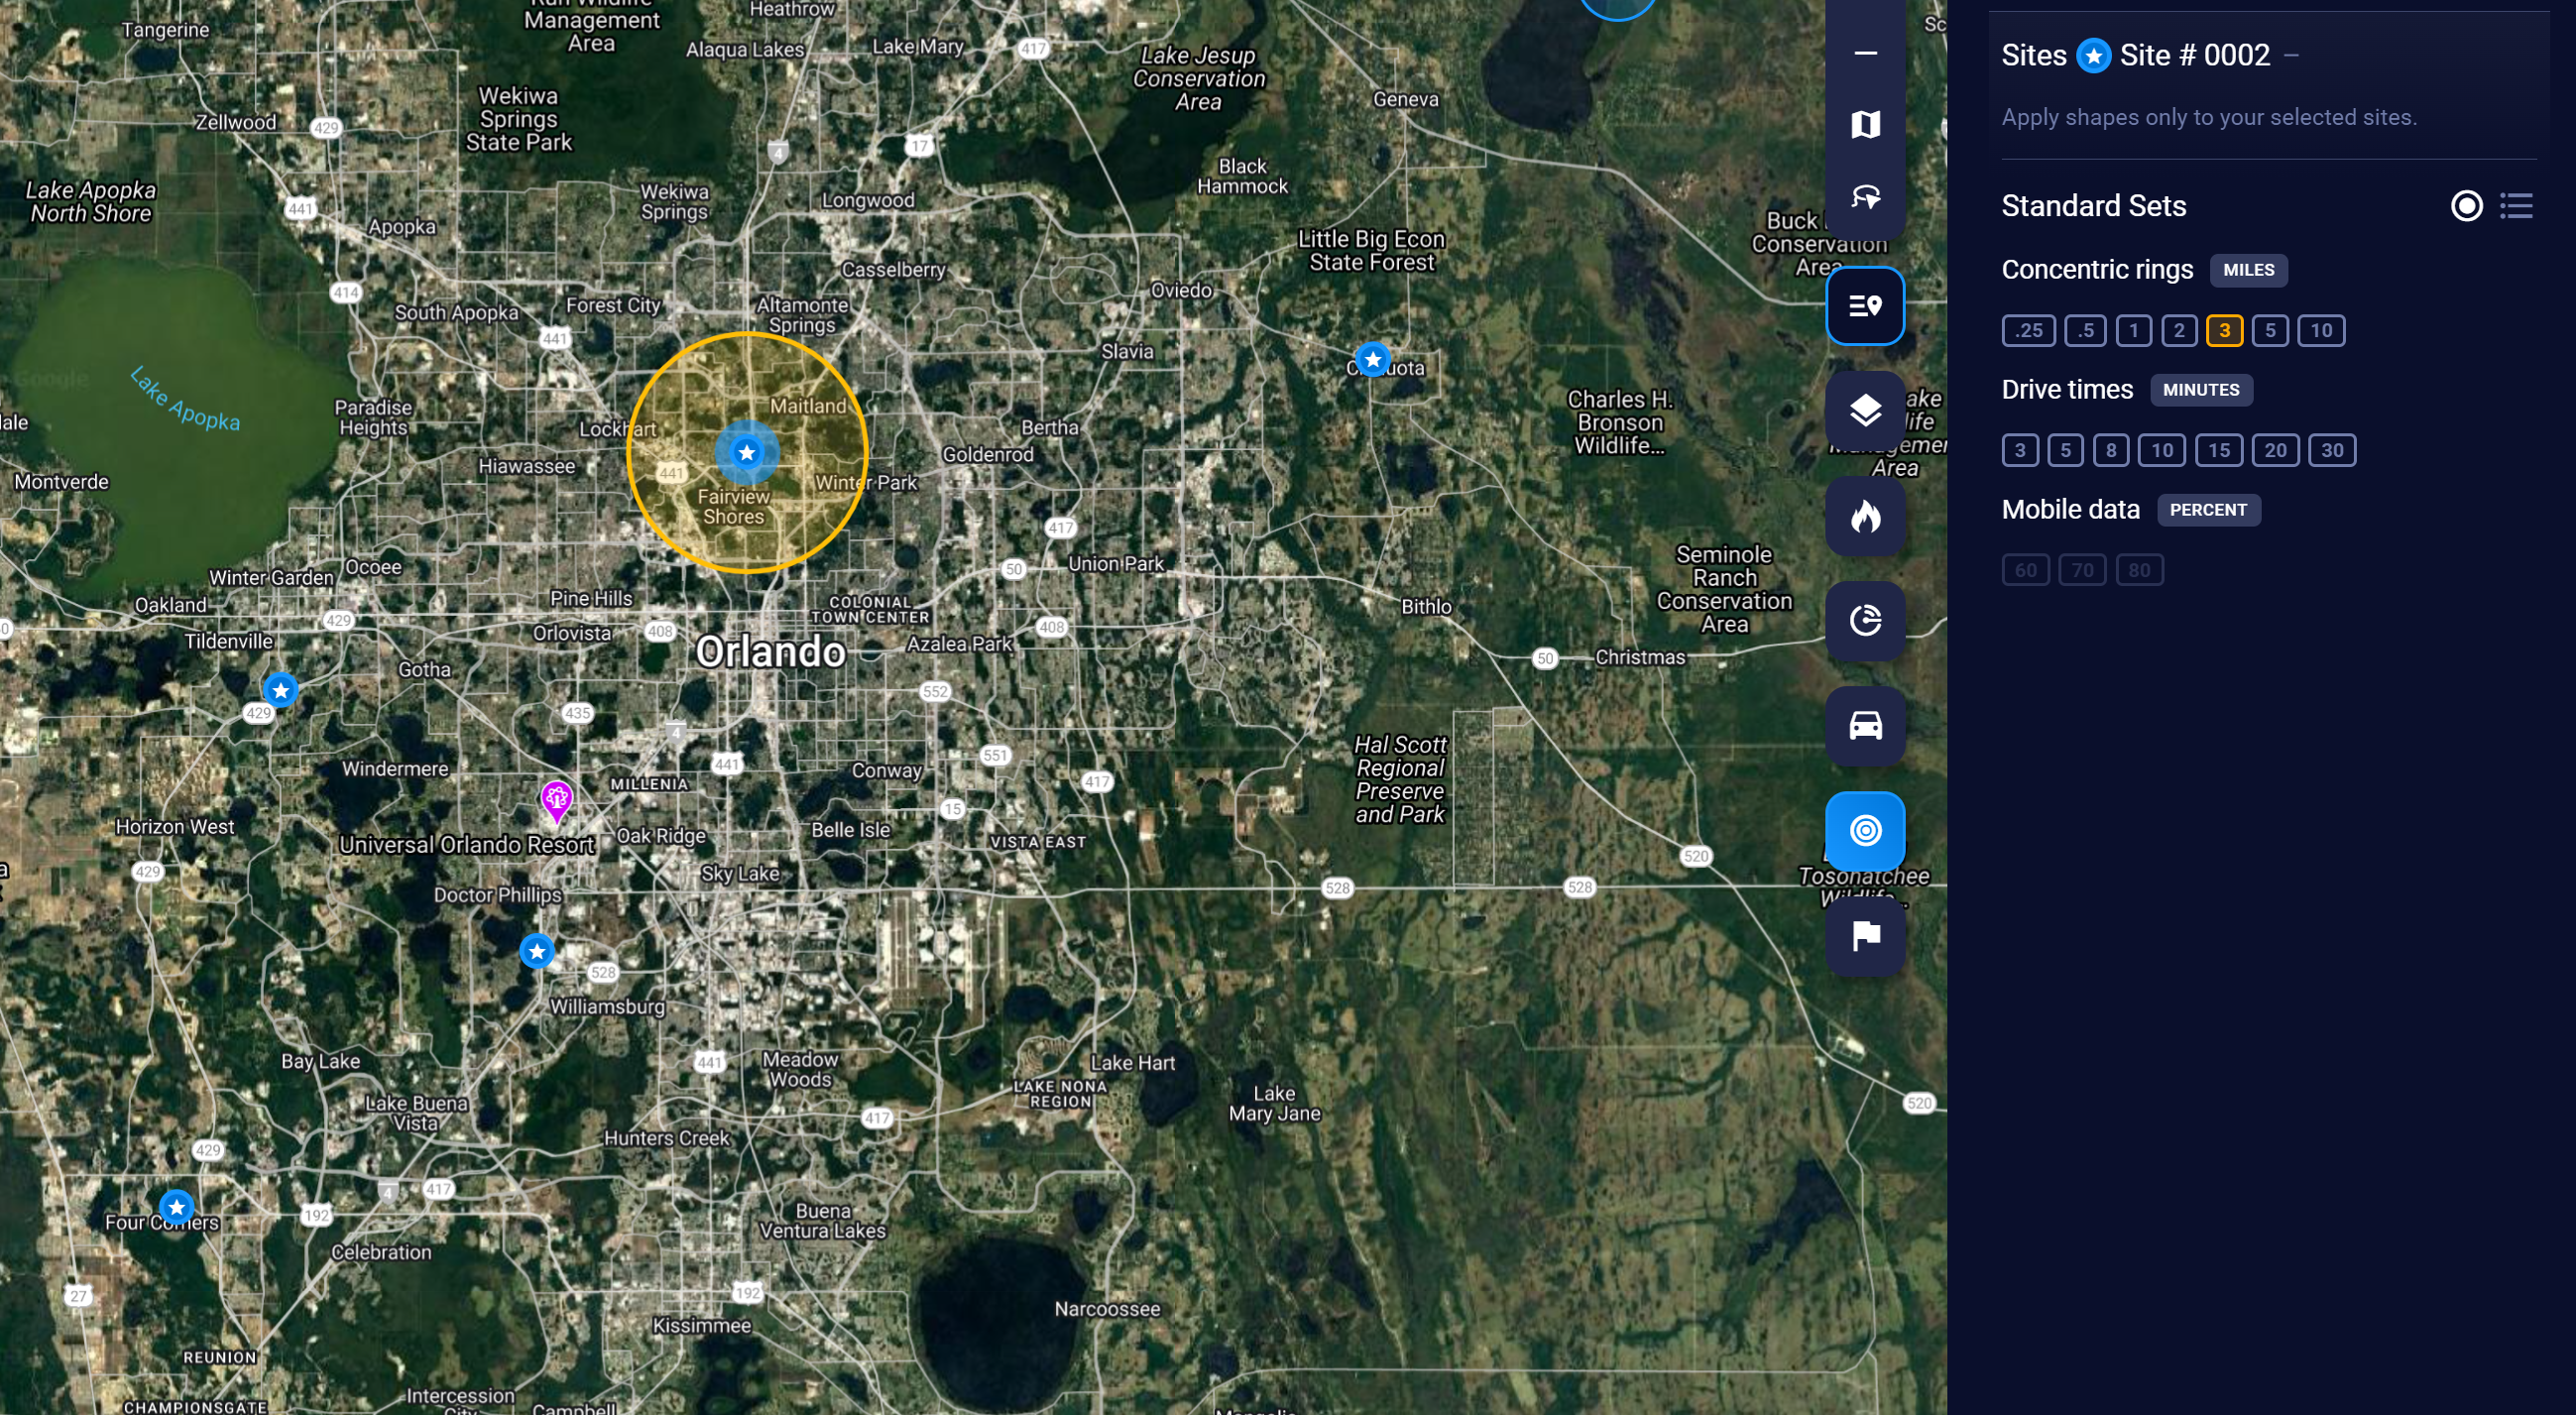
Standard Sets
You can visualize and analyze popular sets of shapes.
- Concentric Rings
Options for this standard set: 0.25mi, 0.5mi, 1.0m, 2.0mi, 3.0mi, 5.0mi, & 10mi. - Drive Times
Options for this standard set: 3min, 5min, 8min, 10min, 15min, 20min, 30min. - Mobile Data (Coming Soon!)
Custom Drive Times
Users can create custom drives times by typing in their desired minutes.
1. Select a site
2. Open Trade Areas
3. Custom Drive Times will appear as an option
Save your custom drive times by copying the shape into one of your Sets.
NOTE: To access custom drive times, you must select a site first. Opening Trade Areas with no site selected will not give you access to the Custom Drive Time tool.
Polygon Shape Tools
To learn more about how to manage/draw your own custom sets, share them with more of your team, share notes about shapes, and analyze those shapes see Polygon Shape Tools
Import / Export Trade Areas
Import
Import your own custom trade areas into SiteZeus to view or customize them. It is important to note that in order to import trade area shapes you must have External IDs added to your trade area import file that correspond to the appropriate store location External ID from your model import file.
To use the Importer,
- Turn on Trade Areas
- Press Import / Export
- Choose a set to import to or create a new set.
- You can choose to add your imported shapes onto a set or replace the whole set.
- You can import two types of files: GeoJSON or Shapefile.
- GeoJSON - This file will have to have a .geojson file extension.
Download a sample - Shapefile - There are two files required for this type. They will both have to be uploaded at the same time.
- A file with the .shp extension
Download a sample - A file with the .dbf extension
Download a sample
- A file with the .shp extension
- GeoJSON - This file will have to have a .geojson file extension.
- Press Import to begin importing your valid file type.
- If there is a problem with the upload or import, you will receive an alert letting you download the errors.
Tip: For all three of these file types, you will need an external application to edit them. QGIS or Geoman editor are a couple free options.
Export
To export shapes that you have previously imported as sets into the system or that you have drawn as new shapes within the platform:
- Turn on Trade Areas
- Select Import/Export
- Select Export
- Choose a set from the list that you wish to Export
- Select the shape format that you wish to export it as
- Wait for the download to generate and then click the download option in the popup to access the files